1. Vehicle Make, Model, and Year
Do not provide only a model name such as “Ford F-150,” “Jeep Wrangler,” or “Chevrolet Equinox.”
Different model years may use different switches, wiring, network systems, or connectors.
2. Trim Level
Base, premium, sport, luxury, and off-road trim levels may use different center-console layouts or switch panels.
A module may fit one trim level but not another.
3. Engine and Powertrain
Gasoline, diesel, mild-hybrid, full-hybrid, and plug-in hybrid versions should not be assumed to use the same module.
Certain products specifically exclude hybrid or plug-in hybrid versions.
4. Factory Start-Stop Button
Check whether the vehicle has a physical button marked:
- A OFF;
- ESS OFF;
- ISG OFF;
- Start/Stop OFF.
Vehicles without a physical button may require a different type of solution.
5. Connector Shape and Pin Count
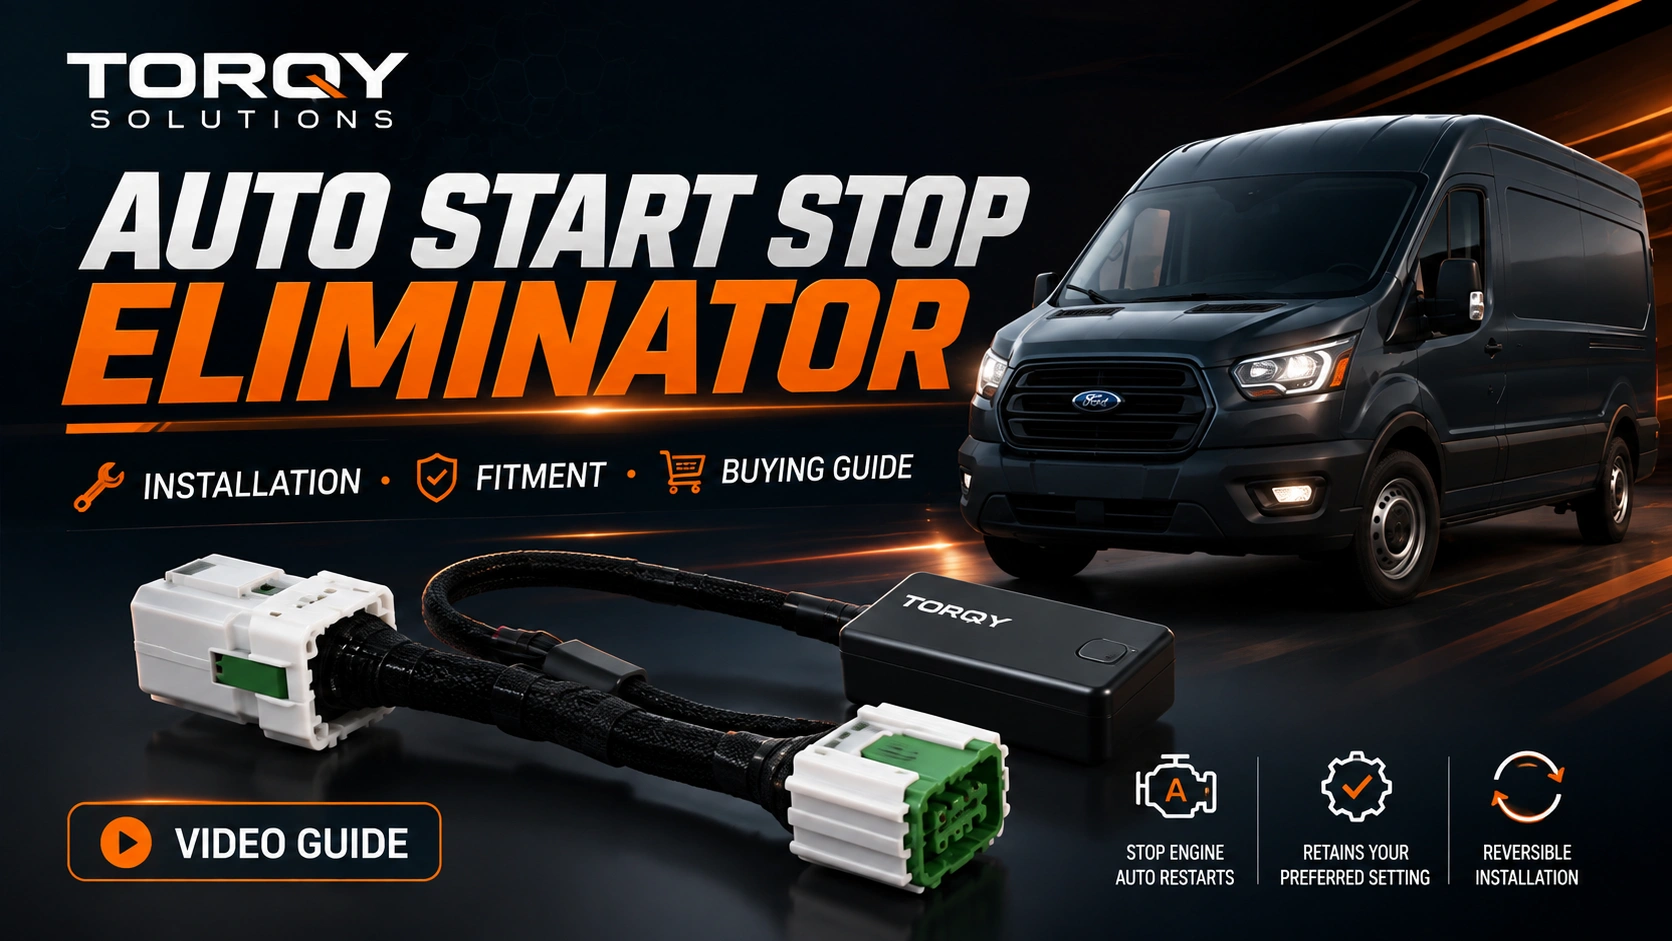
Compare the product connector with the factory connector.
Check:
- Number of pins;
- Locking-tab position;
- Connector width;
- Wire orientation;
- Socket shape.
A connector that looks similar may still have a different pin assignment.
6. Installation Location
A module may connect behind:
- The center-console switch panel;
- The dashboard;
- The steering-column trim;
- The driver-side lower panel;
- A gateway connector;
- A control switch assembly.
The installation location must match the product instructions.
7. Left-Hand-Drive or Right-Hand-Drive Version
Vehicles sold in different regions may use different dashboard layouts, harness lengths, or switch-panel designs.
Cross-border buyers should verify regional compatibility.
8. Excluded Vehicles and Production Dates
Read all notes marked:
- Not compatible;
- Exclusions;
- Important;
- Does not fit;
- Before or after a specific production date.
A vehicle’s registration year may not always match its production configuration.
What to Send When Compatibility Is Unclear
Provide the seller with:
- Make;
- Model;
- Year;
- Trim;
- Engine;
- Powertrain;
- Country or market;
- A photo of the start-stop button;
- A photo of the connector, when available.
This information is more reliable than ordering based only on exterior appearance.
Call to Action:
Contact [Support Email] with your vehicle information before ordering when fitment is uncertain.
6. Plug-and-Play Auto Start-Stop Module Installation and Testing Guide
Suggested URL:/blogs/guides/install-auto-start-stop-memory-module
SEO Keywords:
auto start stop eliminator installation, plug and play start stop module, ESS module installation
Meta Description:
Follow these preparation, connection, testing, and troubleshooting steps when installing a plug-and-play automatic start-stop memory module.
Before Installation
Confirm that the product number matches the vehicle make, model, year, trim, and powertrain.
Prepare the tools listed in the installation instructions. These may include:
- Plastic trim-removal tools;
- A flashlight;
- A screwdriver;
- A socket set;
- Protective tape;
- A clean cloth.
Park the vehicle on a flat surface, shift into Park, turn off the ignition, and move the key or smart key away from the vehicle.
Allow the vehicle electronics to enter sleep mode before disconnecting any connector.
Whether the battery must be disconnected depends on the specific vehicle and product instructions. Do not assume the same procedure applies to every model.
General Installation Procedure
- Remove the specified trim panel carefully;
- Locate the factory start-stop switch or designated connector;
- Press the locking tab before unplugging the connector;
- Do not pull directly on the wires;
- Connect the module between the factory plug and socket;
- Confirm that both locking tabs click into place;
- Secure the module and wiring away from sharp edges;
- Make sure the harness is not pinched by the trim panel;
- Test the product before fully reinstalling the trim.
Initial Function Test
Start the vehicle and check the instrument cluster.
Confirm that:
- No new warning message appears;
- The factory start-stop button still works;
- The indicator responds normally;
- Other nearby switches remain functional.
Set the preferred start-stop mode, turn the vehicle off, wait for the required period, and restart the vehicle.
Check whether the module restores the selected preference.
Do Not Judge the Module Only by Engine Shutdown
The engine may not enter Auto Stop when:
- Battery charge is low;
- The engine is cold;
- Air-conditioning demand is high;
- Cabin heating demand is high;
- The vehicle is on an incline;
- The steering wheel is turned;
- A door or hood is open.
The correct test is whether the start-stop setting is restored, not whether the engine shuts off at every traffic light.
Troubleshooting
When the module does not respond, check:
- Vehicle compatibility;
- Product part number;
- Connector engagement;
- Locking tabs;
- Incorrect connector selection;
- Pinched wiring;
- Factory button operation;
- Battery voltage;
- Required first-time setup.
When the issue remains, restore the factory connection and test the vehicle again.
Provide technical support with:
- Order number;
- Vehicle details;
- Photos of the connector;
- Photos of the installation;
- A short test video;
- Any warning messages displayed.
This information makes fault diagnosis significantly more efficient.