
Description
A Practical Upgrade for Everyday Truck Use
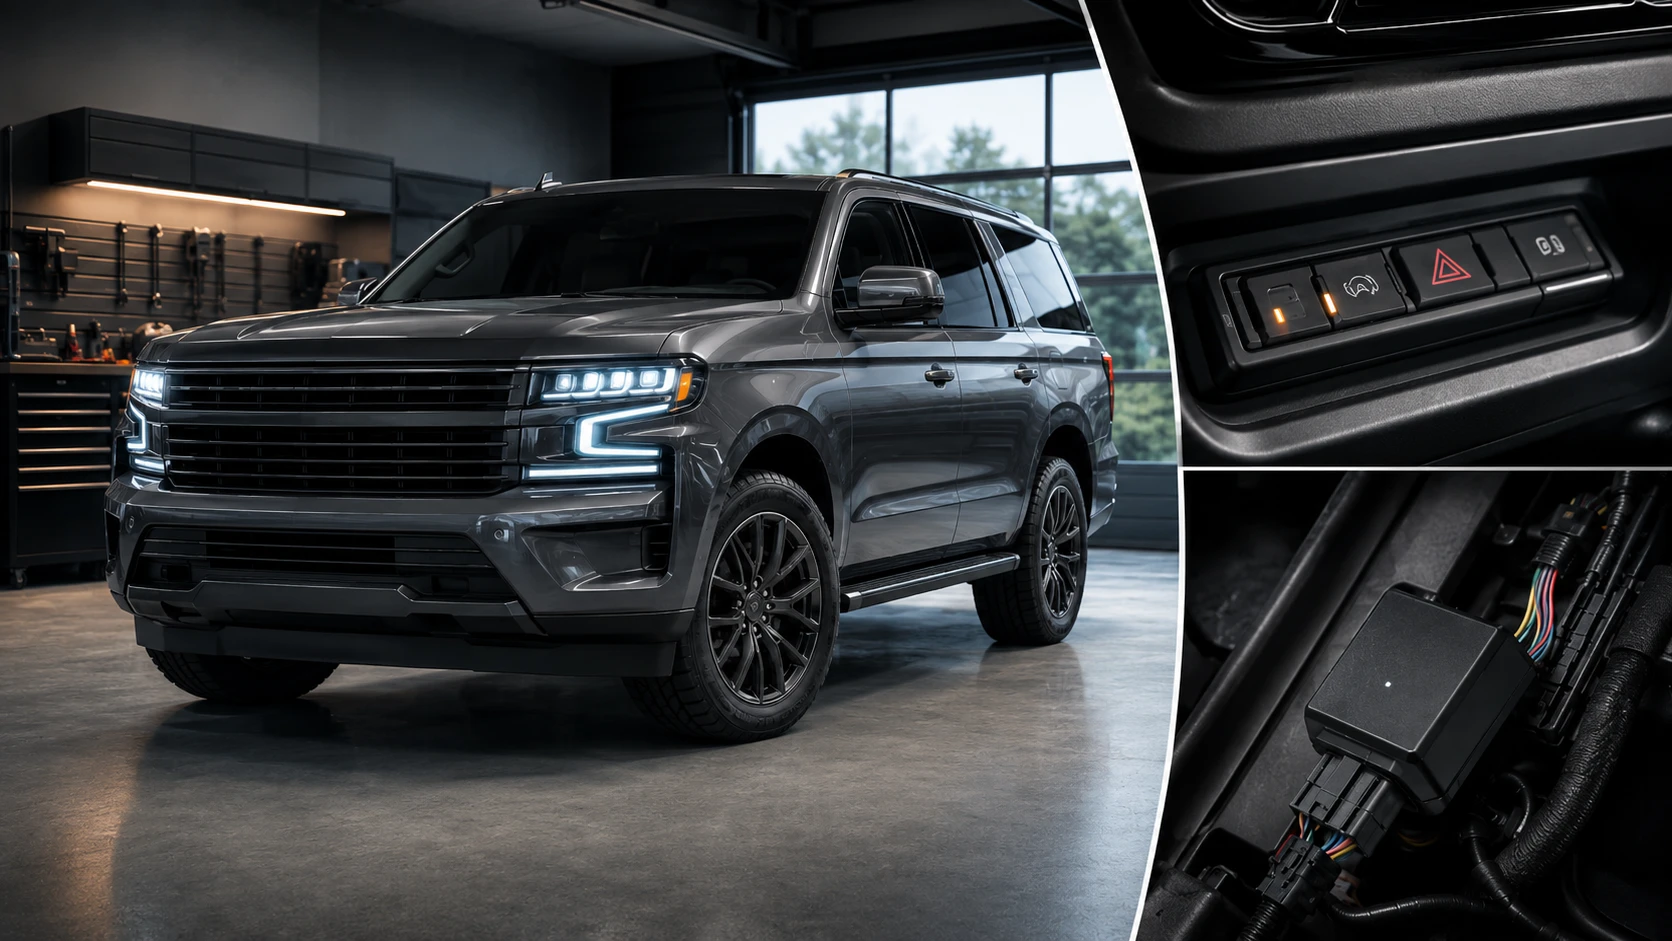
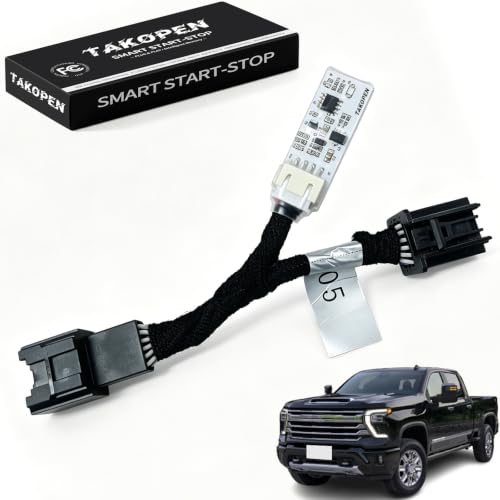
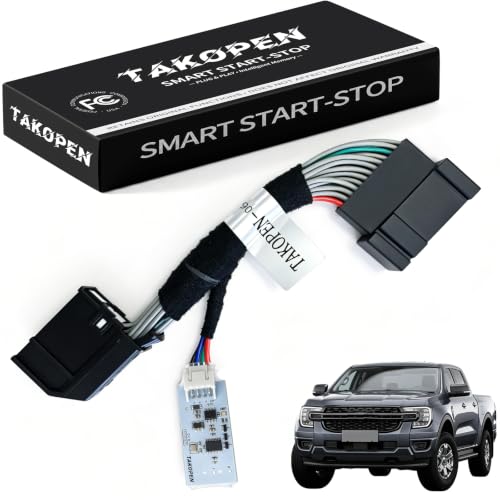
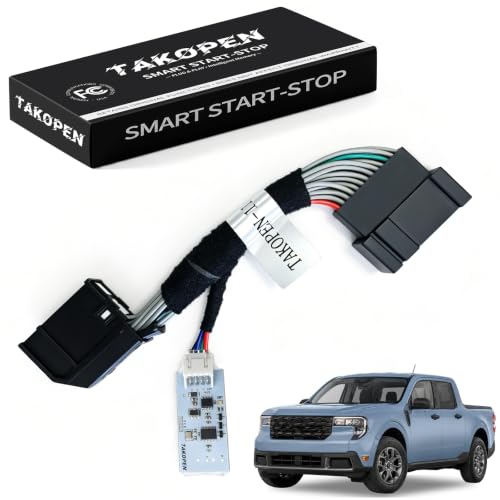
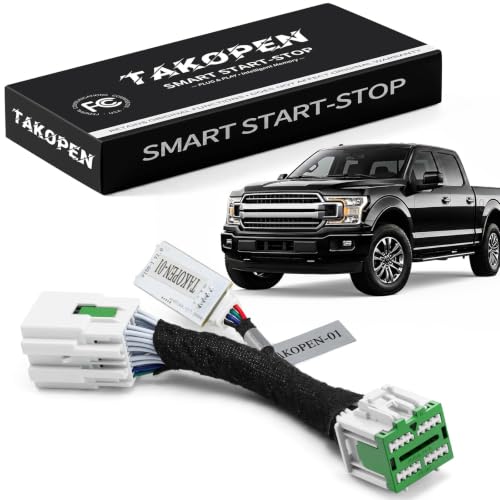
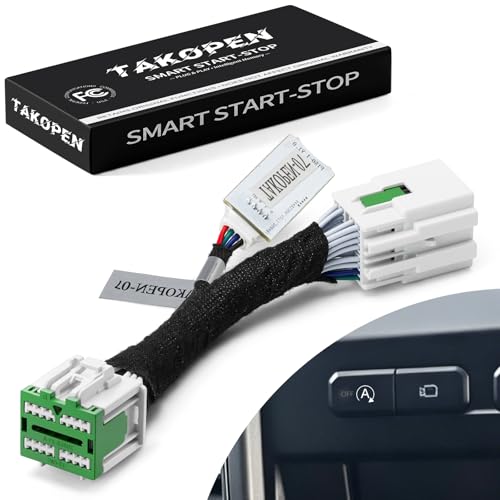
The Nissan Frontier Auto Start Stop Eliminator helps the vehicle restore the driver’s selected start-stop preference after each ignition cycle.
It is intended for compatible vehicles equipped with a factory auto start-stop control button and the corresponding electrical connection.
What Customers Will See in the Video
- The original factory startup behavior
- The location of the auto start-stop control
- Removal of the required dashboard and climate-control trim
- Connection of the module to the original harness
- Reassembly of the dashboard
- A complete before-and-after function test
Installation Steps
Step 1: Inspect the dashboard
Confirm the switch layout and identify the correct trim-removal sequence.
Step 2: Remove the lower panel
Carefully remove the lower trim panel to expose the fasteners securing the center control section.
Step 3: Remove the upper trim
Release the relevant upper dashboard trim without forcing the retaining clips.
Step 4: Access the switch harness
Move the center panel forward sufficiently to reach the original connector.
Step 5: Install the eliminator
Connect the module inline and check that the locking tabs engage correctly.
Step 6: Reinstall and test
Reassemble the dashboard, start the vehicle and complete repeated ignition-cycle tests.
Product Selling Points
- Designed for a vehicle-specific installation
- Plug-and-play electrical connection
- No cutting of the original harness
- Original factory button remains operational
- Module remains concealed after installation
- Vehicle can be returned to factory configuration
Suggested Video Title
Nissan Frontier Auto Start Stop Eliminator | Dashboard Installation Guide
Suggested CTA
Check the exact model year and connector configuration. Do not purchase based only on vehicle name or exterior appearance.
Reviews
There are no reviews yet.